Quick tips for the Kasa smart plug setup & troubleshooting!
With the rapid advancements in smart home technologies, various tech-savvy brands like TP-Link are offering multiple devices for your ease. Likewise, it offers Kasa smart plugs which help to remotely control the smart home appliances. However, to enable remote connectivity within your premises, the Kasa smart plug setup is the fundamental step.
Therefore, this guide provides you with detailed insights regarding the Kasa plug setup procedure. Additionally, you will get to know how to setup kasa smart plug using different methods in this guide. Let’s begin this informative journey for detailed insights!
How to perform the Kasa smart plug wifi setup effortlessly?
Before you dive into the complete procedure of setting up your Kasa smart plugs, it is important to have a stable internet connection, a Kasa app, valid admin credentials, a smartphone, etc. Additionally, to perform the Kasa smart plug setup, you can either use the Kasa app or Google Home app. Detailed steps of both methods are outlined below:
Setting Up Kasa Smart Plugs Via Kasa app
- First of all, power on the Kasa smart plug.
- Now, connect your smartphone to the wifi network.
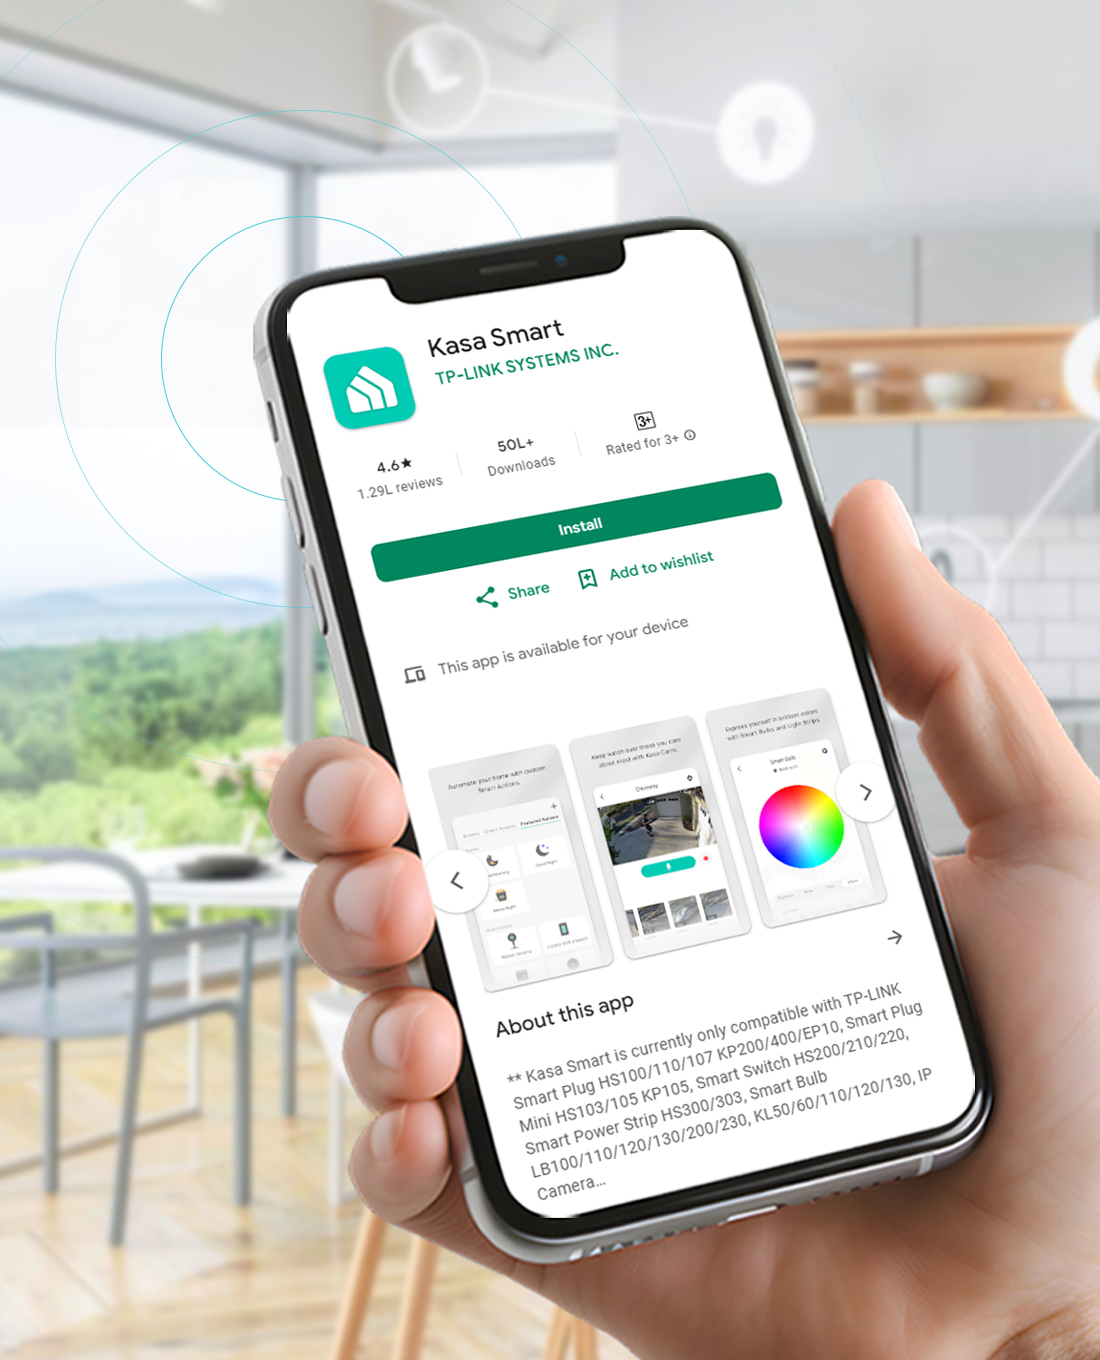
- Then, download the recent version of the Kasa app on your smartphone.
- Afterwards, open the app and a login screen appears to you.
- Hereon, click on Login for the Cloud Account/TP-Link ID.
- Next, enter the Cloud Account details or your TP-Link ID in the required fields.
- If you are a new user, then, Create a Cloud account first or use your email to register on the app.
- After login, you reach the smart setup wizard of the Kasa plug.
- Here, tap on the “+” sign then Add Device>Smart Plug, and then choose your smart plug model.
- Power on your smart plug and wait for the orange and green blinks on the LED.
- Then, connect your smart device to the wifi from the list of available networks.
- Enter the admin credentials to connect with the selected wifi network.
- Now, visit the Name Your Device option to name your Kasa smart plug.
- After that, tap on the smart plug icon and configure the Time Zone, Schedule, etc. settings.
- Then, navigate to Settings>Remote Control>Enable to access the Kasa smart plug remotely.
- At last, save the settings and you are done with the configuration process.
Kasa smart plug setup Through the Google Home App
- Initially, link your smart plug to the power supply.
- Then, set up your Google Nest cameras, Home Speakers, Displays, etc. if you haven’t done yet.
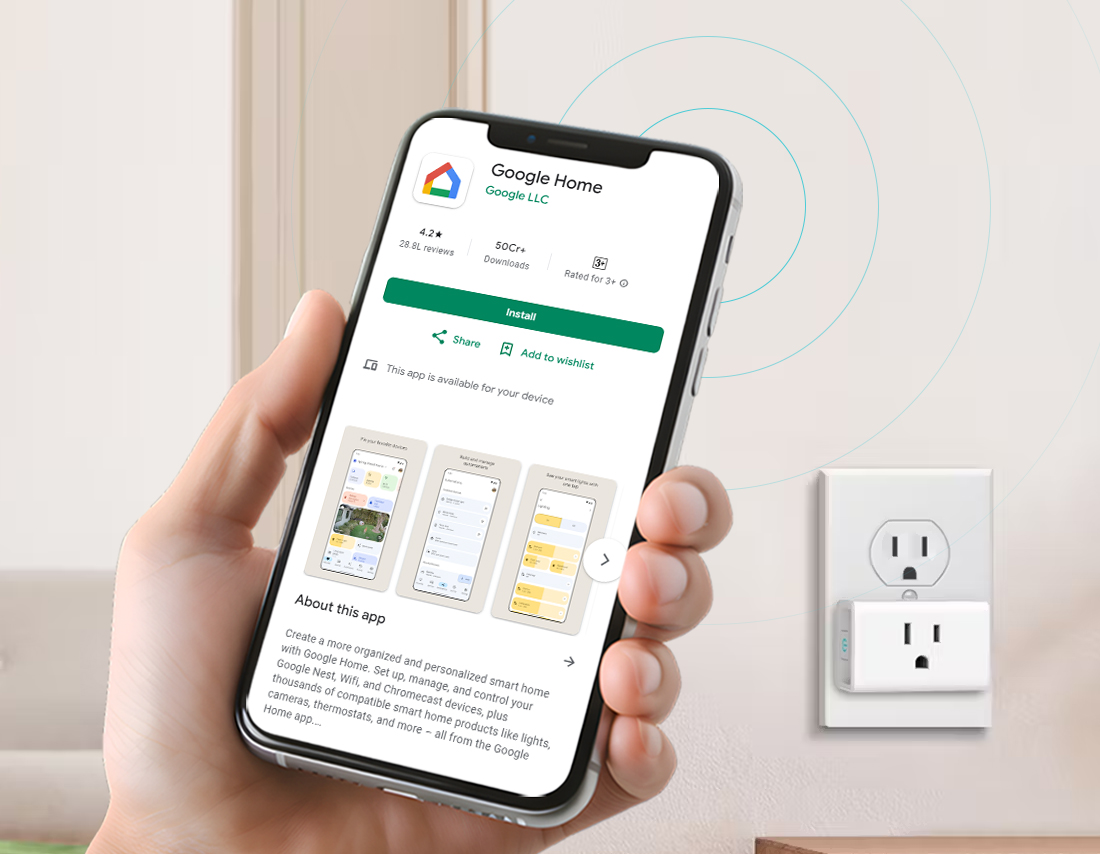
- Then, download the most recent version of the Google Home app on your smartphone.
- Now, connect your smartphone to the existing wifi network.
- Launch the app and log into your admin account using the valid admin details.
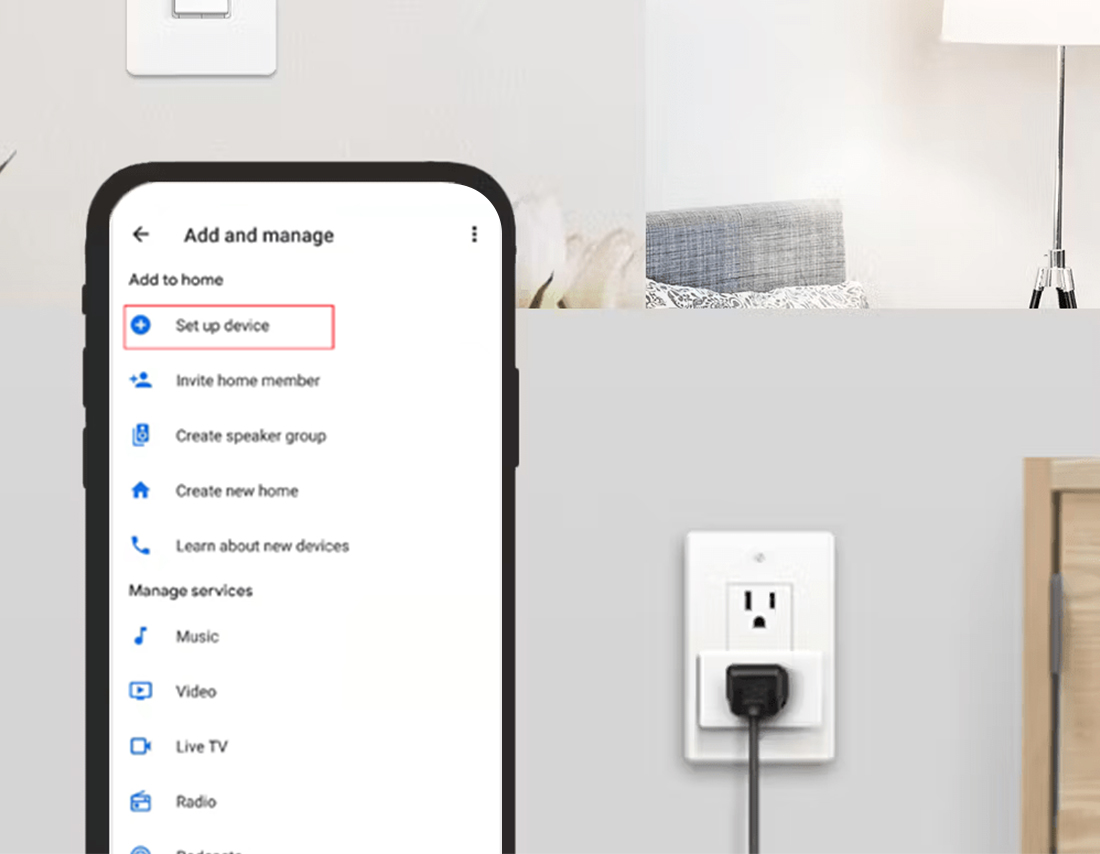
- Then, tap on Add +>Set up a device > and New Device options.
- Afterward, follow the further instructions to complete the kasa smart plug wifi setup.
- Next, Choose a home to set up>Home and tap on Next.
- Hereon, your device scans for the available nearby devices that are ready for the setup.
- Further, cut off the power supply and scan the HEY/OK Google code on your smartphone.
- To Continue without scanning, enter the code at the bottom near the QR Code with Hey/OK Google.
- Now, turn on your smart plug and place it near the Google Assistant.
- Wait till the bridging is enabled on your wifi router.
- Then, connect your smart plug to the Google Assistant.
- Hereon, select a location for the Kasa smart switch and name it.
- Further, choose a network from the available network list and connect to the network by entering the password.
- Wait for a few seconds till the device starts automatically.
- Finally, you reach the Homepage of your Google Home app.
- With this, the Kasa smart plug setup process is completed.
Here’s how to resolve common Kasa smart plug wifi setup issues!
Sometimes, even a minor issue with your smart plug may frustrate the users and halt the entire process. Generally, the issues arise due to internet connectivity issues, power outages, signal interference, improper settings, etc. Thus, to fix all these issues, you must follow the below-given kasa smart plug troubleshooting tips:
- First of all, make sure that you have an adequate power supply and all the devices are powered on.
- Ensure a stable internet connection, or use the ethernet cables to stabilize it.
- Confirm that the Kasa app or Google Home has all the necessary permissions.
- Remove all the signal interference and physical obstructions like EMW devices, heavy furniture, etc. to get the strong signals.
- Temporarily disable the VPN, Firewall, etc. security software during this process. You can re-enable them once the process is done.
- Configure your device at the 2.4 GHz network bandwidth as it doesn’t support the 5GHz network frequency.
- Power cycle your device to resolve the temporary glitches and bugs.
- Carefully enter the admin credentials while logging in. You can check and confirm these details from the user manual or the product label.
- Use the latest version of the app or reinstall them before setting up your smart plug.
- Keep the Kasa smart plug within the wifi range.
- Regularly check and download the recent version of the firmware of your Kasa smart plug.
- If none of these solutions works, then reset your device.
How to reset Kasa smart plugs efficiently?
Despite the aforementioned troubleshooting measures, users often face issues while configuring and accessing their devices. When all else fails, then the Kasa smart plug reset is the only viable option. So, in this section, we outline the simple steps to reset your device through the reset button, as given below:
- First of all, confirm the power supply and connect your device to the wifi network.
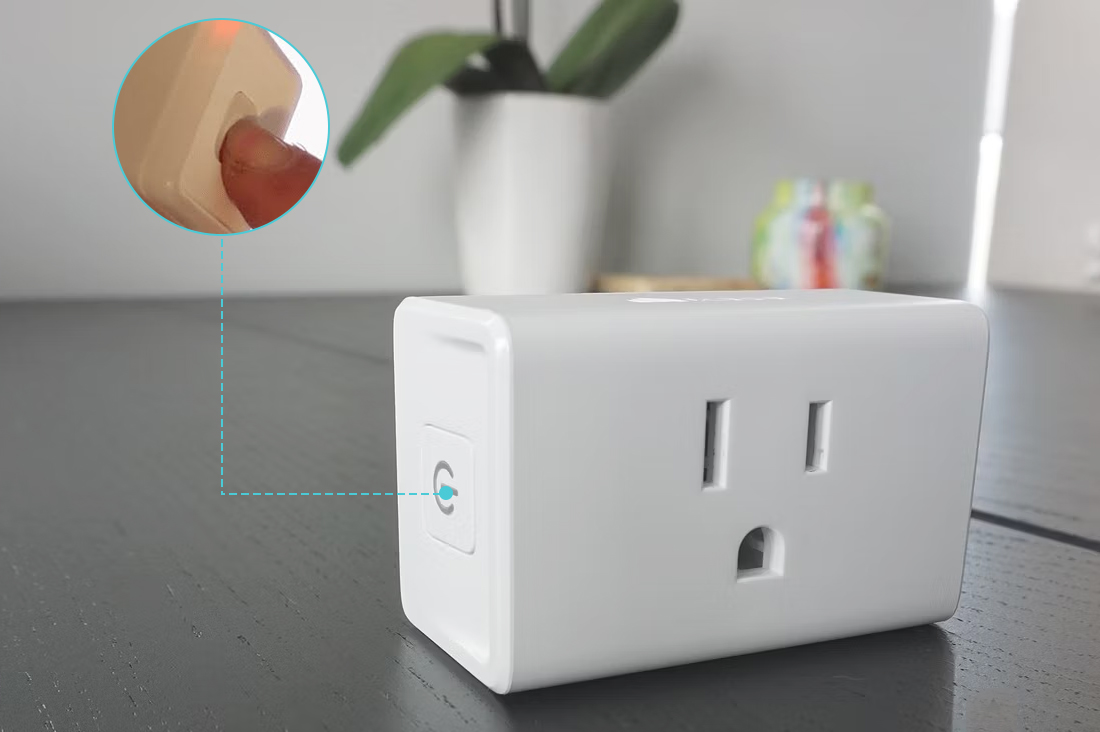
- Then, locate the reset button on your Kasa smart plugs.
- Further, press and hold this button for 10 seconds and wait till the Wi-Fi LED on the device blinks amber rapidly.
- Wait patiently, till the device brings back to its original settings and now releases this button.
- With this, the Kasa smart wifi plug reset is completed.
Hopefully, you now understand the Kasa smart plug setup process. If you still want to explore more, visit our website!
Frequently Asked Questions
How to accomplish the Kasa firmware update easily?
To update the Kasa firmware, firstly, log into your cloud account using valid credentials. Afterward, tap on Me in the right bottom corner and check the Firmware Update. If there are any updates available, then download them and follow the on-screen instructions.
What is the default username and password for the TP-Link Kasa smart plug?
The default username and password for the TP-Link Kasa smart plug is a combination of admin/admin in lowercase. Otherwise, you can use the TP-Link ID to log into your device.
How can we resolve the internal bugs and errors during the configuration process?
To resolve the temporary glitches and internal errors during the Kasa smart plug configuration, you need to power cycle your device. For that, unplug the router, smart plug from the power supply, and wait for around 10-15 seconds, then plug them on.
What should I do, if I want to bring my device back to factory defaults without losing configuration settings?
If you want to bring your device to factory defaults without losing any personalised settings, then soft reset the user device. For that, press the reset button on the Kasa plug for 5 seconds and release when the WiFi LED blinks amber and green.